


Even though we have a bunch of phones or camera stabilizer brands, or a little more professional Steadicam ones, to choose, camera shake still happens a lot when we are filming. Honestly, this is not because your mechanical stabilization method is wrong or useless. Stabilization devices indeed can decrease the camera shakiness, but not completely eradicate it. To get clean and smooth images, we will need some post-production work. Here in this guide, we will list three such methods to help you with stabilizing shaky video, with detailed steps. Now check them and choose the one you prefer.
Method 1. How to Stabilize Shaky Video Using VideoProc Converter AI
We recommend VideoProc Converter AI's AI Stabilization tool as the best option if you are looking for an easy way, friendly to beginners, to get rid of the footage shakiness. There will be no hard jobs for you to set some complex parameters like many other tools out there, becasue its AI algorithms will do them for you.
VideoProc Converter AI's AI Stabilization tool has two different working modes to fix shaky videos: One Pass and Two Pass. Under the Two Pass mode, VideoProc Converter AI will first analyze both the frame before the shaky frame and the one after it, and then make the decision of how to fix it. This mode will give you better result.
By comparison, under the One Pass mode VideoProc Converter AI will fix a shaky frame based on only analyzing the frame appearing before it. So it delivers an edited result which is not as good as that the Two Pass mode does, but it will cost you less time, since the other frame is not analyzed.
Besides, VideoProc Converter AI's AI Stabilization tool also gives you the options to set the crop ratio of the shaky clip. If you don't want to lose too much contents of the shaky clip, just choose the corresponding feature. Still don't know how to make the decision? No worries, there is also a Analyze button to help you set it automatically.
So why not free download it now and follow the steps below to check how we use it for stabilizing shaky video?

Step 1. Install VideoProc Converter AI on your computer after downloading it.
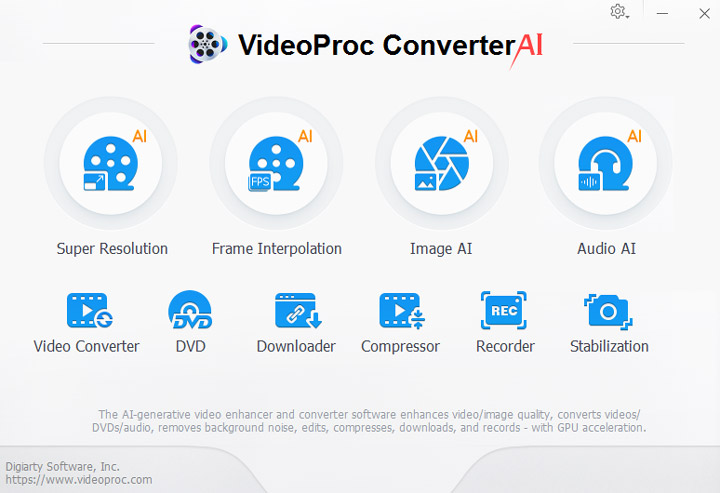
Step 2. Run it. And then you will see seven major menus. Choose the Stabilization and then you will go into the VideoProc – Stabilization workplace.
Step 3. Click the Add Video button in the lower left corner of the new interface, to import the shaky video.
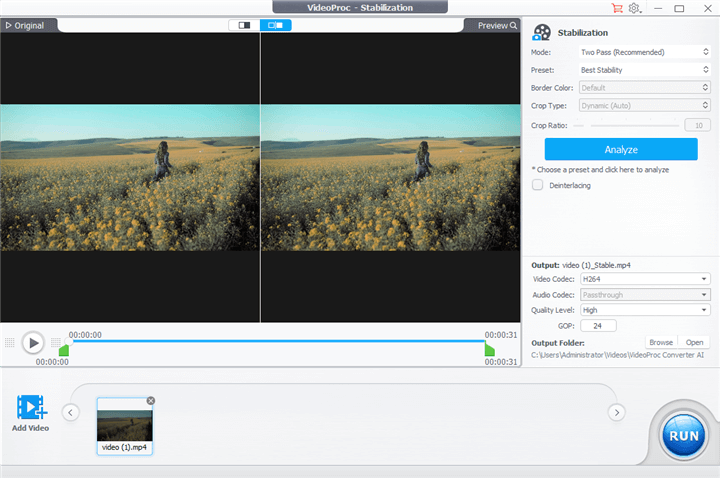
Step 4. Now head to the right side of the interface, where you will see a bunch of options. I will recommend you click the Analyze button to make this tool help you set the parameters, if you are new to this tool and have little knowledge of it. If you want to know them in detail, you can refer to this guide of ours.
Step 5. Lastly, choose the output video codec, audio codec, and saving destination. After all set, click the RUN button to start the processing for your shaky video.
Method 2. How to Stabilize Shaky Video Using iMovie
iMovie would be highly recommended for the Mac users who are searching for a beginner-level way to remove video shakiness. Compared to VideoProc Converter AI way, iMovie would be more automatic. You import the clip, and iMovie will scan the clip and find its shaky images for processing. But the bad aspect about iMovie stabilization is that it probably cuts out some parts of the images to maintain the major part stable. We will talk more details about this in the following how-to steps.
Step 1. After you import the clip into iMovie timeline, select it by double-clicking on the clip. And then find the Stabilization button, which looks like a camera recorder, choose it, and iMovie will show you two options Stabilize Shaky Video and Fix Rolling Shutter. Obviously the first one is what we need.
At first, the Stabilize Shaky Video button would be gray, and you can do nothing about it. This is because iMovie will analyze the clip first to find the clip shakiness information.
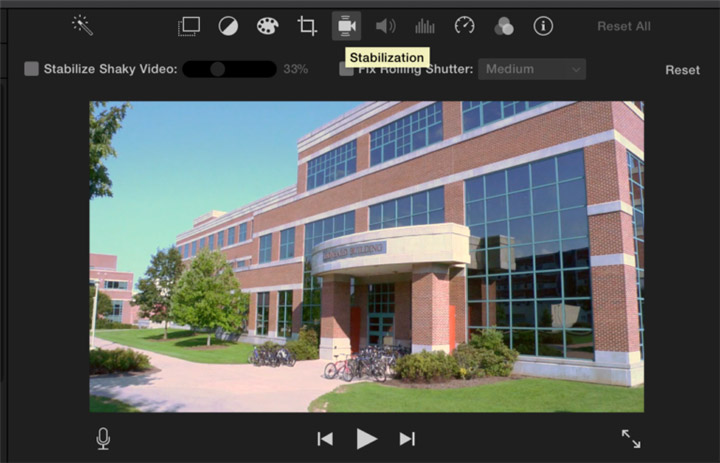
Step 2. After the analysis finishes, the Stabilize Shaky Video slider would be workable. You can move the slider which shows a percentage number, meaning how stable the images would become.

However, this does not mean you can move the number to the max., and you will get the best result. Like we have said above, iMovie stabilize your clip probably by sacrificing some portion of the images. If you find that it remove some important portions, you can adjust the number and roll back the removed portions. However, it will mean that the clip would be less stable. Anyway, what you need to do it find the perfect percentage number which balance between clip stabilization and image elements.
Method 3. How to Stabilize Video Using Adobe Premiere Pro
Beginner-level tools, like iMovie above, may help you finish the job easily, but may not with perfection. This is why we write down the third part, introducing Adobe Premiere Pro to stabilize shaky clip. But it may take more of your time to get used to how to use it. Adobe Premiere Pro will also work like iMovie to crop some portion of the image to help the clip seem more stable. The difference is that Adobe Premiere Pro provides users with options to save it. We will tell you how to make it in the following contents.
Step 1. Import the shaky clip into Adobe Premiere Pro by dragging the file into its timeline.
Step 2. Select the clip in the timeline, then go to Effects > Distort, and find Warp Stabilizer. Double-click on or move this effect to your selected clip in the timeline. Warp Stabilizer feature will automatically analyze the clip in the background. It may take a while, depending on the amount of the information about this clip.

Here is a trick for the analysis, if there are just some periods of the clip shaking, you can first split the clip into small parts by the keyboard shortcut Command + K (for Windows), or Control + K (for Mac). Then you can just choose the shaky part for analysis, and less time would be consumed.
When the analysis is done, Adobe Premiere Pro will show you a banner to tell you about it. At this moment, Adobe Premiere Pro not just finishes the analysis, but also the stabilization work. You can preview the edited file to see if it does successfully fix shaky videos.
Step 3. You can make some adjustments if Adobe Premiere Pro crops some portions of the images. What you need to do is to change the setting to Stabilize Only under the Framing menu, and reduce either the Smoothness or Crop Less Smooth More function in the Advanced Settings.
The Bottom Line
To sum-up, if you prefer an easy way with less complicated operations to fix shaky video, VideoProc Converter AI and iMovie would be the better choices for stabilizing shaky video. However, if you want to make this job perfectly, then Adobe Premiere Pro would be what you want, even though there will be more settings to make.


