As the world continues to adapt to remote work, podcasters have also started recording their podcasts remotely. Remote podcasting has become increasingly popular due to its convenience, flexibility, and accessibility. With remote podcasting, you can record your podcast from anywhere in the world, collaborate with guests from different locations, and save time and money on travel expenses.
However, remote podcasting also comes with its own set of challenges. Poor audio quality, technical difficulties, and lack of interaction with guests are some of the common challenges that podcasters face when recording remotely. But with the right tools and techniques, you can overcome these challenges and produce high-quality podcasts.
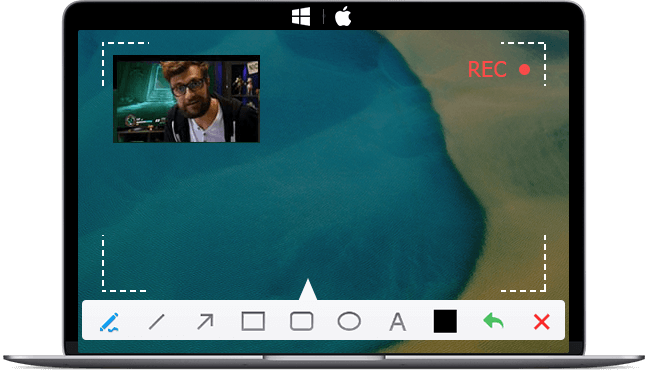
In this article, we will discuss some of the best practices and methods for recording podcasts remotely. Keep reading and find them now.
Option 1: Use Video Conferencing Software to Record Podcast Remotely
Video conferencing software has become essential for remote communication, especially during these days of social distancing and remote working. But did you know that you can also use video conferencing software to record your podcast remotely? It's an easy and affordable way to have guests on your show without having to meet in person. And here we will explore how you can use video conferencing software to record your podcast remotely, and we'll introduce some popular tools that can help you get started.
What is Video Conferencing Software
Video conferencing software is a tool that allows you to communicate with others in real-time via video and audio. You can use it to host virtual meetings, webinars, and even remote podcast recordings. Video conferencing software works by connecting your computer, tablet, or smartphone to the internet and allowing you to communicate with others using your webcam, microphone, and speakers.
There are several video conferencing tools that you can use to record your podcast remotely, but some of the most popular ones include Zoom, Google Hangouts, and Microsoft Teams. Each tool has its own set of features, pros and cons, pricing, and quality. Here's a brief overview of each tool:
Zoom - Zoom is a cloud-based video conferencing tool that supports up to 1000 participants. It's free to use for up to 40 minutes, and you can upgrade to a paid plan for additional features and longer meetings. Zoom is known for its high-quality video and audio, as well as its screen-sharing and recording capabilities.

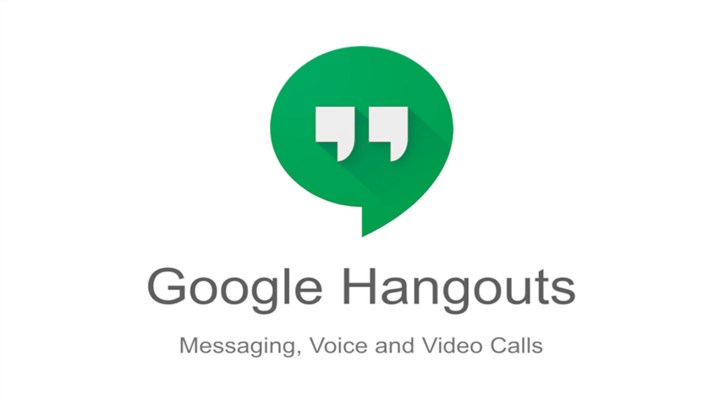
Google Hangouts - Google Hangouts is a free video conferencing tool that's integrated with Google's suite of productivity tools. It supports up to 25 participants and offers screen-sharing and recording capabilities. However, its video and audio quality may not be as high as other tools.
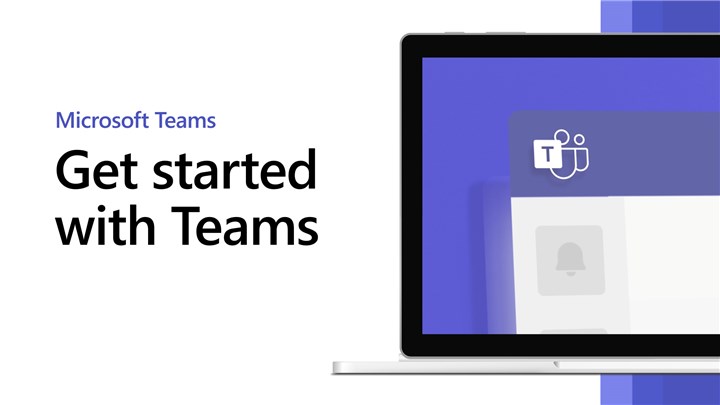
Microsoft Teams - Microsoft Teams is a collaboration platform that includes video conferencing, messaging, and file-sharing capabilities. It's free to use for up to 300 participants and offers screen-sharing and recording capabilities. Its video and audio quality are generally good, but it may require a higher bandwidth than other tools.
Tips for Using Video Conferencing Software for Remote Podcasting
Now that you know about some popular video conferencing tools, here are some tips for using them to record your podcast remotely:Now that you know about some popular video conferencing tools, here are some tips for using them to record your podcast remotely:
Invite Guests and Set Up the Meeting - Once you've chosen your video conferencing tool, you'll need to invite your guests and set up the meeting. Make sure to send out invitations well in advance and provide clear instructions on how to join the meeting.
Adjust Audio and Video Settings - Before you start recording, make sure to adjust your audio and video settings. Test your microphone and speakers to ensure that the audio quality is clear, and adjust your webcam settings to ensure that the lighting and background are suitable for recording.
Record the Meeting and Download the Files - Most video conferencing tools allow you to record the meeting and download the files afterward. Make sure to check the recording settings and download the files as soon as possible to avoid losing any data.
Avoid Feedback, Echo, and Background Noise - One common issue with remote podcast recordings is feedback, echo, and background noise. To avoid these issues, make sure to use a high-quality microphone and headphones, and choose a quiet location for recording.
Turn Off Your Video to Save Bandwidth - If you're experiencing low bandwidth, you can turn off your video to save bandwidth and improve the audio quality. This can be especially useful if you're recording with multiple guests and need to conserve bandwidth.
Option 2: Use Remote Recording Software to Record Podcast Remotely
With remote recording software, podcasters can now record high-quality audio and video from different locations, making it more convenient for guests and co-hosts to join in. In this part, we'll explore some of the popular remote recording platforms available and provide you with tips on how to use them effectively for your podcast.
What is Remote Recording Software
Remote recording software is a tool that allows podcasters to record audio and video content from different locations. With these platforms, guests and co-hosts can join in the recording session from their own devices, making it easier to collaborate on podcasts even when you are not in the same room.
And here are some popular remote recording platforms:
1. Riverside.fm
Riverside.fm is a popular remote recording software that offers high-quality audio and video recording. The platform is easy to use and provides users with real-time video and audio feedback during the session. One of the unique features of Riverside.fm is the ability to record individual audio and video files for each participant, which makes it easier to edit the content later. However, it can be a bit pricey for some users, with plans starting at $29/month.
2. SquadCast
SquadCast is another popular remote recording platform that offers high-quality audio and video recording. The platform is user-friendly, and it provides users with real-time audio and video feedback during the session. One of the unique features of SquadCast is the ability to record backup audio files in case of any internet interruptions. The platform also integrates with popular editing tools such as Audacity and GarageBand. However, it can be a bit expensive, with plans starting at $20/month.
3. Zencastr
Zencastr is a popular remote recording platform that offers high-quality audio recording. The platform is easy to use and provides users with real-time audio feedback during the session. One of the unique features of Zencastr is the ability to record individual audio files for each participant, which makes it easier to edit the content later. Zencastr also offers a free plan, which includes up to two guests per session and two hours of audio recording per month. However, it does not offer video recording, and the free plan has limited features.
How to Use Remote Recording Software for Podcasting
Step 1. Create an Account and Start a Session
To use remote recording software, you need to create an account with the platform of your choice. Once you have created an account, you can start a new session and invite your guests or co-hosts to join.
Step 2. Invite Guests and Communicate with Them
Once you have started the session, you can invite your guests or co-hosts to join by sending them an invite link. It's important to communicate with them beforehand to ensure they have the necessary equipment and a stable internet connection.
Step 3. Record High-Quality Audio and Video Locally
To ensure high-quality audio and video recording, it's important to have a good microphone and camera. Each participant should record their audio and video locally on their own device, which can then be uploaded and synced later.
Step 4. Edit and Publish Your Podcast Episode
Once you have recorded the podcast, you can edit the content using popular editing tools such as Audacity or GarageBand. Once you have edited the content, you can publish it on popular podcast hosting platforms such as Spotify or Apple Podcasts.
Option 3: Record Phone Calls Through a Mixer to Record Podcast Remotely
A mixer is a device that allows you to combine multiple audio sources and control their levels. With a mixer, you can connect your microphone, phone, computer, and other audio sources to one central device. This makes it easy to capture high-quality audio from multiple sources and record it onto a single track.
To record phone calls through a mixer, you'll need to connect your phone to the mixer using a TRRS cable or a Bluetooth adapter. You can then adjust the levels and monitor the sound to ensure that your audio quality is top-notch.
There are several popular mixers for podcasters that you can choose from. Here are three of the most popular:
Rodecaster Pro: This mixer is designed specifically for podcasters and offers a range of features, including four microphone inputs, Bluetooth connectivity, and built-in sound effects. It's easy to use and produces high-quality audio, but it's also the most expensive option on this list, with a price tag of around $600.
Zoom LiveTrak L-8: This mixer is a more affordable option at around $400. It offers six microphone inputs, Bluetooth connectivity, and built-in sound effects. It's also portable, making it a great option for podcasters who are always on the go.
Behringer Xenyx Q1202USB: This mixer is the most affordable option on this list, with a price tag of around $100. It offers four microphone inputs, USB connectivity, and built-in compressors. However, it doesn't have Bluetooth connectivity, so you'll need to use a TRRS cable to connect your phone.
Here's a summary of the features, pros, cons, pricing, and quality of the three mixers we just introduced:
| Mixer Name | Features | Pros | Cons | Pricing | Quality |
|---|---|---|---|---|---|
Rodecaster Pro |
4 microphone |
Designed specifically for |
Expensive |
$600 | High-quality |
Zoom LiveTrak L-8 |
6 microphone inputs, Bluetooth |
More affordable than Rodecaster Pro, portable |
Sound quality could be better, limited sound effects |
$400 | Good-quality |
Behringer Xenyx Q1 |
4 microphone inputs, USB |
Affordable, built-in compressors |
No Bluetooth connectivity, limited sound effects, less intuitive UI |
$100 | Average-quality |
Here are some tips on how to use a mixer for podcasting:
1. Connect your phone to the mixer using a TRRS cable or a Bluetooth adapter.
2. Adjust the levels to ensure that your audio quality is top-notch.
3. Monitor the sound to ensure that everything is working properly.
4. Record the phone call using a digital recorder or a computer.
Option 4: Record a Double-Ender to Record Podcast Remotely
When it comes to quality, the double-ender method is widely regarded as one of the best ways to record high-quality audio remotely. By recording each participant's audio locally, the double-ender method eliminates the need for a single recording that captures both voices, which can result in lower audio quality. But you must wonder what a double-ender is, right?
A double-ender is a method of recording a podcast where each participant records their own audio locally, rather than relying on a single recording that captures both voices. This means that each participant records their own audio file, which can then be edited and combined to create a single, seamless recording.
The double-ender method requires each participant to record their audio using their own equipment, which can include a microphone and headphones. Once the recording is complete, the files are then synced together to create a single, high-quality recording.
If you're interested in recording a double-ender for your podcast, there are several popular software options to choose from. Some of the most commonly used software includes Audacity, GarageBand, and Adobe Audition.
Audacity is a free and open-source audio recording and editing software that is available for Windows, Mac, and Linux. It's a popular choice for podcasters because it's easy to use and has a wide range of features. It's also free, which makes it an accessible option for those who are just starting out.
GarageBand is an audio recording and editing software that is exclusive to Mac users. It's a popular choice for podcasters because it's easy to use and comes with a range of built-in features, like sound effects and music loops.
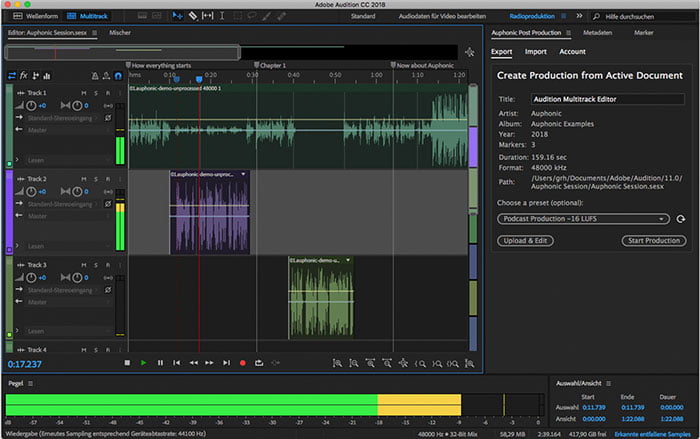
Adobe Audition is a professional-grade audio recording and editing software that is available for both Windows and Mac. It's a popular choice for podcasters who want a more robust set of features and better audio quality. However, it comes with a higher price tag than Audacity or GarageBand.
Each of these software options has its own set of features, pros and cons, pricing, and quality levels. Audacity is a great option for those who are just starting out and want free, easy-to-use software. GarageBand is a good choice for Mac users who want a user-friendly software with a range of built-in features. And Adobe Audition is a professional-grade software that offers more advanced features and higher audio quality, but comes with a higher price tag.
If you're interested in recording a double-ender for your podcast, here are some tips to help you get started:
1. Sync your clocks with your guest or co-host to ensure that your audio files are in sync when you combine them.
2. Record your own voice using a microphone and headphones to ensure the best possible audio quality.
3. Send your files to your guest or co-host using a file-sharing service like Dropbox or Google Drive.
4. Use software like Audacity, GarageBand, or Adobe Audition to combine and edit the files.
5. If you're using multiple tracks, label them clearly to make editing easier.
6. Always listen to your recording before publishing to ensure that the audio quality is up to par.
Bonus Tip: How to Prepare Your Guest for Remote Recording
While remote recording offers flexibility and convenience, it also requires some preparation from both the host and the guest. As a host, if you are, it's your responsibility to ensure that your guest is well-prepared for the remote recording. Here are some tips to help you prepare your guest for remote recording.
Communicate with Your Guest Before Recording
Communication is key when it comes to remote recording. Before the recording, communicate with your guest about the topic, format, and duration of the podcast. This will help your guest understand what to expect and prepare accordingly. Make sure you also discuss the technical requirements for the recording, such as the software you'll be using and any other equipment your guest might need.
Help Your Guest Sound Natural and Confident on the Mic
Many people are not used to speaking on a microphone, and this can make them nervous and self-conscious. As a host, it's your job to help your guest sound natural and confident on the mic. Encourage your guest to speak in a conversational tone, and remind them to speak clearly and slowly. If your guest is nervous, take some time to chat with them before the recording to help them relax.
Remind Your Guest to Use a Microphone and Headphones
The quality of the audio is crucial to the success of a podcast. Remind your guest to use a microphone and headphones to ensure the best possible audio quality. A microphone will help your guest sound clear and professional, while headphones will prevent any echo or feedback. If your guest doesn't have a microphone or headphones, suggest some affordable options that they can purchase.
Find a Quiet and Comfortable Place to Record
Background noise can be a major distraction during a podcast recording. Remind your guest to find a quiet and comfortable place to record, away from any distractions or noise. This could be a quiet room in their home or office, or even a closet filled with clothes that can help absorb any unwanted noise.


