Need to convert YouTube to iTunes? Ever tried to enjoy your favorite YouTube videos on your Apple device when you're not connected to the internet? It can be frustrating, especially when those videos are restricted due to copyright or region issues. So, can you transfer YouTube Music to iTunes for offline viewing? Absolutely, you can easily convert YouTube to iTunes and enjoy your content anytime, anywhere. In this guide, we'll show you 6 of the best YouTube to iTunes converters, with which you can convert YouTube to iTunes library with minimum effort.
An Overview: How to Convert YouTube to iTunes
To convert YouTube content for use with iTunes, follow these two simple steps:
Download and Convert YouTube Content
Use an online video downloader like VideoProc Converter AI or Anything2MP3 to save the YouTube content offline. Keep in mind that iTunes only supports a limited range of audio and video formats. To make things easier, VideoProc Converter AI is recommended, as it can directly save YouTube music and videos in iTunes-compatible formats like M4A. Additionally, it offers a built-in media conversion feature that supports over 370 formats, allowing you to easily convert files as needed.
Import The Downloaded File to iTunes
Once the music file is downloaded, you can add it to iTunes by simply dragging and dropping it into the iTunes window, or by using the File menu and selecting Add to Library.
The Overall Best YouTube to iTunes Converter
VideoProc Converter AI
VideoProc Converter AI is the overall best YouTube to iTunes converter. It lets you download 4K video and music files from 1000+ sites including YouTube, Vimeo, and TikTok. Thanks to the bulk download feather, you can grab multiple songs and videos from a full playlist. Besides, it lets you convert video and audio to M4A, MP3, AAC, FLAC, OGG, and almost all popular and rare audio formats. It provides ready output profiles for iPod, iTunes video, iPhone, and other trendy platforms and devices, so even beginners can get the downloaded videos in desired formats for sharing, playing, and editing easily. Check more reasons to use VideoProc Converter AI
- Extract videos and audio from 1000+ websites via URL links
- Support 370+ format: MP4, MOV, HEVC, AV1, MP3, M4A, FLAC, etc
- Bulk download, convert, compress, and export music and video files
- Upscale videos to 4K, remove background noise, and more AI tools
How to Convert YouTube to iTunes on Mac and Windows via VideoProc Converter AI
Step 1. Launch VideoProc Converter AI on your computer and choose the Downloader feature.
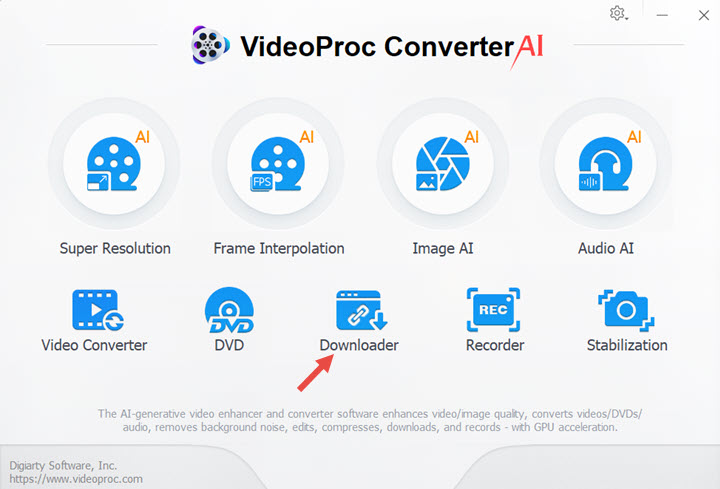
Step 2. Depending on the type of content you want to download, click Add Music or Add Video. For this demonstration, I'm converting YouTube song to iTunes, so I choose Add Music.
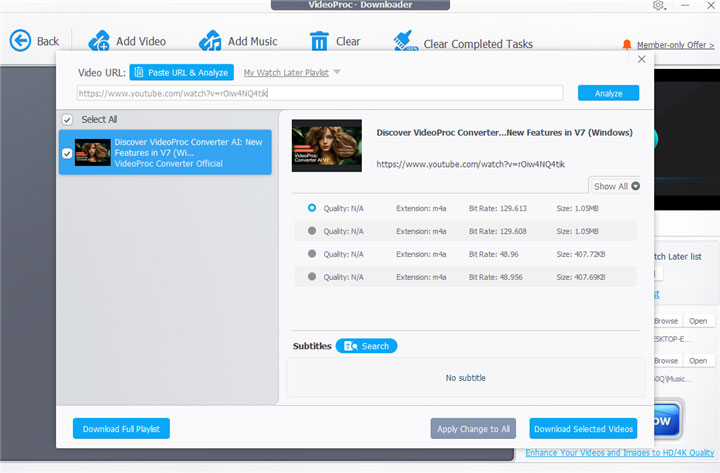
Step 3. Enter the URL link of YouTube music and hit Analyze. You'll see multiple download options with different extension (MP3, M4A), bitrate, and file size. Usually, the default selection has the largest file size, which provide best sound quality.
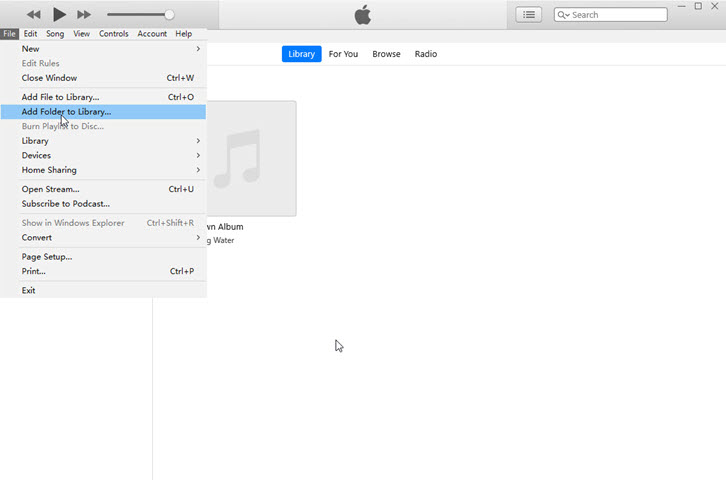
Step 4. Open iTunes on your computer, click File > Add Folder to Library at the top menu, located the folder that hold the downloaded YouTube files, and drag it for loading to iTunes.
What If the Available Download Option Is Not Compatible with iTune
If the available download options don't include M4A, or if you prefer a different format for iTunes or Apple Music, you can easily convert the file after downloading:
- Go back to the main VideoProc Converter AI window and click Video Converter.
- Drag and drop the previously downloaded audio file into this YouTube to iTunes converter.
- Go to the bottom section, click Music and choose the target music format. Click RUN.
5 Other Online or Free YouTube to iTunes Converters
Note: iTunes can detect and reject audio downloaded from most online YouTube to MP3 converters, this can lead to music files being unable to be loaded. In this case, clearing the metadata should get things fixed. Surely, an easier alternative method is converting MP3 file to M4A, WAV, or any another format that iTunes is compatible with.
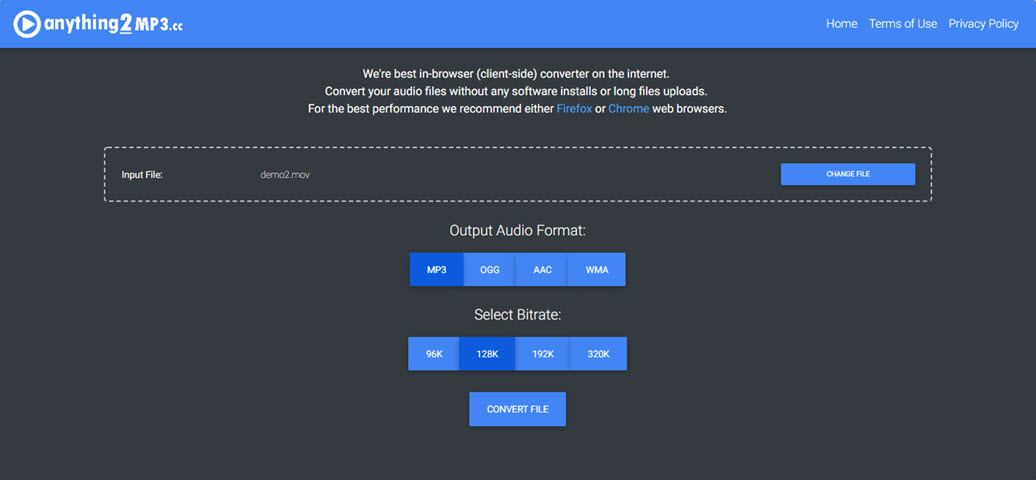
Anything2Mp3
Anything2MP3 is probably the best free and online conversion tool to turn music from YouTube to iTunes. You don't even have to download the YouTube videos before transcoding. What you need to do is paste the link from the YouTube videos you want to save, modify output format and bitrate, and start conversion. After a while, you can download the music to your computer and transfer it to iTunes.
Pros
- Convert YouTube and Vemo videos to audio file easily.
- No limits to the file size.
- Simple and intuitive user interface.
Cons
- Not so many file formats are supported. But they are enough to use.
- Some Ads are posted on the website.
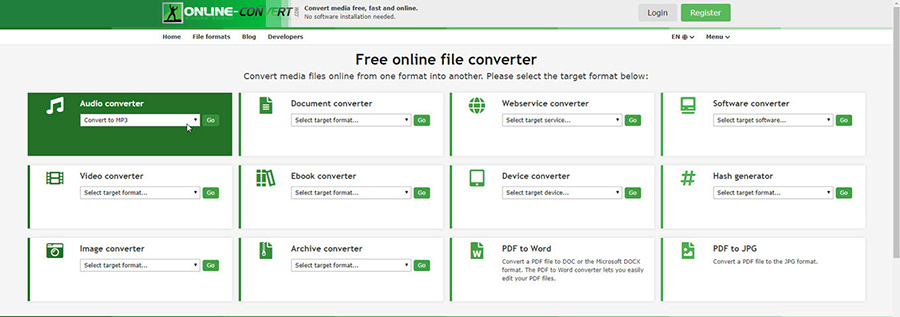
Online-Convert
To convert YouTube videos from one format to another, take Online-Convert into consideration. Apart from converting files on your hard drive, you can upload your file from Google Drive, Dropbox or links from video-sharing websites.
It may take a while when you upload the file to this online tool (depends on your hardware and speed of the internet). Then regulate the file settings if you need. When conversion is done, you can upload the converted files to the cloud or save them on the machine.
Pros
- Support over 150 source formats. It allows you to extract audio from YouTube videos directly.
- Convert files from cloud server.
- You are allowed to change the audio settings like bitrate, sampling rate, channel, etc.
Cons
- Its trial version can only convert the file that is less than 100MB.
- It doesn't support batch conversion.
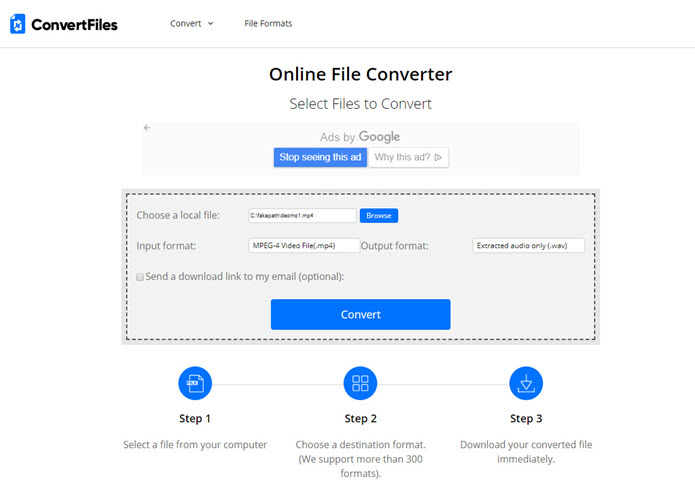
ConvertFiles
ConvertFiles is a free and browser-based video converter that is capable of handing over 200 file types, covering video, audio, e-book, image, document and more. And it is quite simple to use. Navigate to the site of ConvertFiles and upload YouTube videos you will transcode. Select Extract audio only. (mp3) as the output format. At last, click the Convert button and download the converted file after conversion.
Pros
- Support a long list of file formats like MOV, FLV, MP4, MP3, M4A, etc.
- Extract audio from video directly.
- Browser-based converter. No need to download.
Cons
- You can only convert the file that is less than 250MB.
- It doesn't support batch conversion.
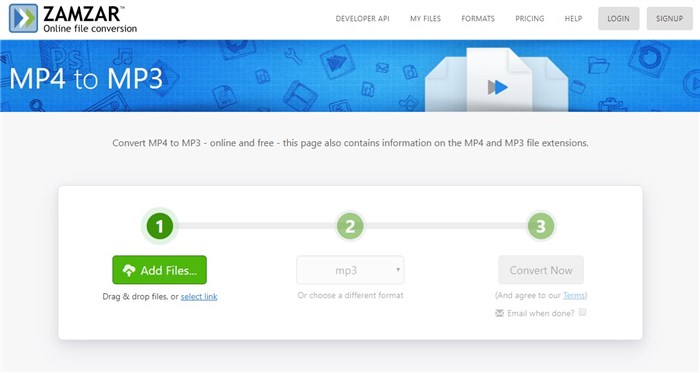
Zamzar
Possessed a codec library with the support of over 1200 file formats, Zamzar is a free and online conversion tool that help your convert music from YouTube to iTunes with less training. It has suspended the ability to convert a link from video streaming website largely because the service is in violation of the copyright law. However, you can convert the large file on your computer using this online tool.
Cons
- A large codec library that supports over 1200 file formats.
- Flat learning curve. Use it effortlessly.
Cons
- Cannot change file settings like bitrate, sampling rate, etc.
- Its internet speed restriction will slow down uploading and conversion processes.
FreeFileConvert
It's a website-based conversion tool that can convert music from YouTube to iTunes compatible format speedily. To convert a file with this tool, click on the File, URL or cloud tab to import files to the converter from various destinations. And select a format you will use. When the conversion done, click Download to save the file. That's it. It's not terrible to use.
Cons
- Support a host of file sources.
- Conversion speed's fast and stable.
- No maximum file size limit.
Cons
- Link download happens to errors frequently.
- A converted file can be downloaded only 5 times.

Disclaimer: We do not advocate downloading or converting authorized or copy-protected media content.


